- Pinch on the elevation graph to zoom in or zoom out
- Swipe left or right on the top of the elevation graph to navigate on it
- On "Ahead of you" Mode you will navigate and see the terrain ahead of you with your current track
- On "Planned route" Mode you will navigate through the route. The darker area represents the part of the route that was already flown.
- Max terrain altitude value will be shown on the top right corner of the elevation graph.
- Altitude and distance units can be changed from the Settings.
- An icon will represent your aircraft. If when navigating through the elevation graph you leave the icon behind a new yellow icon will appear. Tapping on this yellow icon will center to your location again.
- A warning will be shown when part or all of the elevation data is missing.
- If a corridor width along the route has been set in the Route Instrument it will be drawn on the elevation graph as a red area.
- Your current altitude is shown as a red line.
Edit Mode
In "Edit mode", the Elevation Graph will display the terrain between the two waypoints of the selected leg. This is very useful when planning your route to get an estimate of the minimum safe altitude.

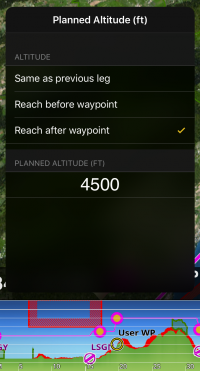
You can plan your altitude for the route in edit mode. You can choose the altitude you plan to overfly the waypoints of the route. For this there will be gray dots over the waypoints on the elevation graph that you can move upwards or downwards. After moving the dot it will change the color indicating that an altitude has been set. By default Air Navigation Pro chooses the MSA of the route as planned altitude.
