How the «Flight recorder» works
In order to record a flight, you have to enable the option «Flight recorder» in the «Flight recorder» menu. This should be done before starting the flight.
Air Navigation will start recording as soon as the Block-Off time is set. More info about this under the «Flight Time» module. When the Block-On time is finally set, Air Navigation will stop recording the flight and it will be automatically stored in «Tools» menu.
Remember that you can set the values manually or it can be set automatically if the option «Automatic logbook» is enabled in «Settings» as well.
The flight can be reproduced from within the application by pressing on the desired recorded flight in the «Tools» menu, where the flights are stored.
Trace Settings
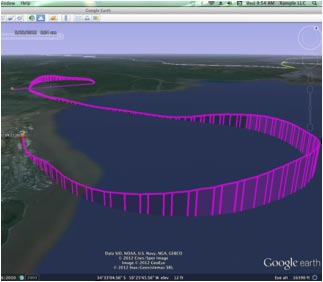
Import the file on Google Earth/Maps
A KML file will be stored as well in one of the Air Navigation`s folders. This file can be downloaded from the embedded WebServer server and then opened on Google Earth/Maps and see the flight`s track (refer to «Webserver» for more info on how to connect to the Webserver).
Note: Besides having the chance to reproduce a flight in Air Navigation Pro, you can also send it by email by selecting the option after pressing on a desired one.
Back to previous page.
