(Importing a new version from external source) |
(Updating to match new version of source page) |
||
| Line 1: | Line 1: | ||
<languages /> | <languages /> | ||
| + | <br /> | ||
---- | ---- | ||
| − | There are many ways | + | __TOC__ |
| + | |||
| + | |||
| + | ==Create== | ||
| + | |||
| + | There are many ways to create custom waypoints: | ||
* From the Custom waypoints editor. | * From the Custom waypoints editor. | ||
| − | * From the [[Search Module|Search module]] | + | * From the <u>[[Search Module|Search module.]]</u> |
| − | * [[Via URL]] | + | * <u>[[Via URL|Via URL.]]</u> |
| − | Creating waypoint from the Custom waypoints editor | + | ===Creating waypoint from the Custom waypoints editor=== |
| − | |||
| − | |||
* By adding the exact coordinates or using your current position. | * By adding the exact coordinates or using your current position. | ||
| − | [[File: | + | [[File:Create_custom_waypoint_v2_2.jpg|left|caption|250px]]Go to "Tools - Custom waypoint editor". |
| Line 24: | Line 28: | ||
| + | * By pressing your finger three seconds on a specific spot [[File:add_wp.jpg|caption|right|235px]]on the map. Tap on "Insert in database" and enter the parameters asked by the app. If you select Aerodrome under "Type" you will be able to enter runways and frequencies information.<br /> | ||
| + | : The created waypoint will appear on the map and also under "Tools - Custom Waypoints editor". | ||
| − | |||
---- | ---- | ||
| − | |||
| − | |||
| + | ==Delete== | ||
| + | * Swiping from right to left over the waypoint's name will make [[File:wp_delete.jpg|left|caption|170px]]the "Delete" button appear. Tap it once and it's done. | ||
| Line 43: | Line 48: | ||
| − | * Under Custom waypoints editor tap "Edit" at the upper right [[File: | + | |
| + | * Under Custom waypoints editor tap "Edit" at the upper right [[File:user_wp.jpg|right|caption|170px]]corner and choose "Remove waypoints". | ||
| + | |||
| + | |||
| Line 57: | Line 65: | ||
---- | ---- | ||
| + | ==Back up waypoints== | ||
| + | From the Edit mode you will also be able to back-up your [[File:backup.jpg|right|caption|200px]]waypoints and restore them or copy them to another device.<br/> | ||
| − | |||
| − | [[File: | + | [[File:backup_complete.jpg|left|caption|200px]] |
| Line 67: | Line 76: | ||
| − | In order to do this, you have to connect | + | |
| + | |||
| + | In order to do this, you have to connect your device to a computer and go to iTunes.<br /> | ||
Select the device on the upper bar and then select "Apps" from the menu on the left. | Select the device on the upper bar and then select "Apps" from the menu on the left. | ||
At the bottom of this page you will find the "File Sharing" menu. Select Air Navigation Pro from there and save the "Backup.sql" file.<br /> | At the bottom of this page you will find the "File Sharing" menu. Select Air Navigation Pro from there and save the "Backup.sql" file.<br /> | ||
| Line 76: | Line 87: | ||
<br /> | <br /> | ||
| − | [[File: | + | [[File:warning_wp.jpg|200px|center]] |
| + | |||
| + | |||
---- | ---- | ||
| + | ==Share== | ||
| + | Easily share your waypoints with others using the "Share" function. Tap on "More Options" - "Share", choose the waypoint(s) you would like to share and tap on "Share". | ||
| + | |||
| + | You will be given the option to choose between different formats. | ||
| + | *Air Navigation Pro format: This format includes all the information related to the waypoint, like frequency and runways informations. Only compatible with Air Navigation Pro. | ||
| + | *GPX: compatible with third party softwares that supports this type of files. | ||
| + | *Text + Google Maps link | ||
<br /> | <br /> | ||
| + | Once you select the waypoint you can choose how you would like to share it: | ||
| + | *[//support.apple.com/en-us/HT204144 AirDrop] | ||
| + | *iOS Native apps like Message, Mail or Notes | ||
| + | *Third party apps like Dropbox. | ||
| + | <br /> | ||
| + | [[File:waypoints_share.jpg]] | ||
| + | ---- | ||
Back to <u>[[Tools|previous page.]]</u> | Back to <u>[[Tools|previous page.]]</u> | ||
<br /> | <br /> | ||
| + | [[Category:Tools]] | ||
Revision as of 17:46, 14 October 2016
Contents
Create
There are many ways to create custom waypoints:
- From the Custom waypoints editor.
- From the Search module.
- Via URL.
Creating waypoint from the Custom waypoints editor
- By adding the exact coordinates or using your current position.
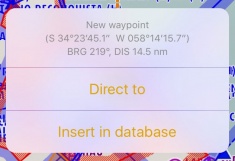
- By pressing your finger three seconds on a specific spot on the map. Tap on "Insert in database" and enter the parameters asked by the app. If you select Aerodrome under "Type" you will be able to enter runways and frequencies information.
- The created waypoint will appear on the map and also under "Tools - Custom Waypoints editor".
Delete
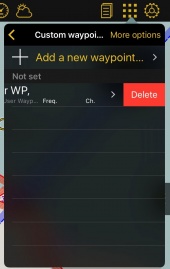
- Swiping from right to left over the waypoint's name will make the "Delete" button appear. Tap it once and it's done.
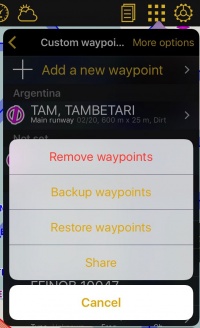
- Under Custom waypoints editor tap "Edit" at the upper right corner and choose "Remove waypoints".
Back up waypoints
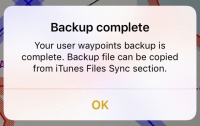
From the Edit mode you will also be able to back-up your waypoints and restore them or copy them to another device.
In order to do this, you have to connect your device to a computer and go to iTunes.
Select the device on the upper bar and then select "Apps" from the menu on the left.
At the bottom of this page you will find the "File Sharing" menu. Select Air Navigation Pro from there and save the "Backup.sql" file.
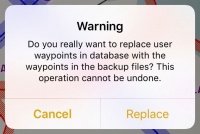
Move this file to the new device in the same way through the "File Sharing" option of iTunes. Then, select the option "Restore Waypoints" in the new device.
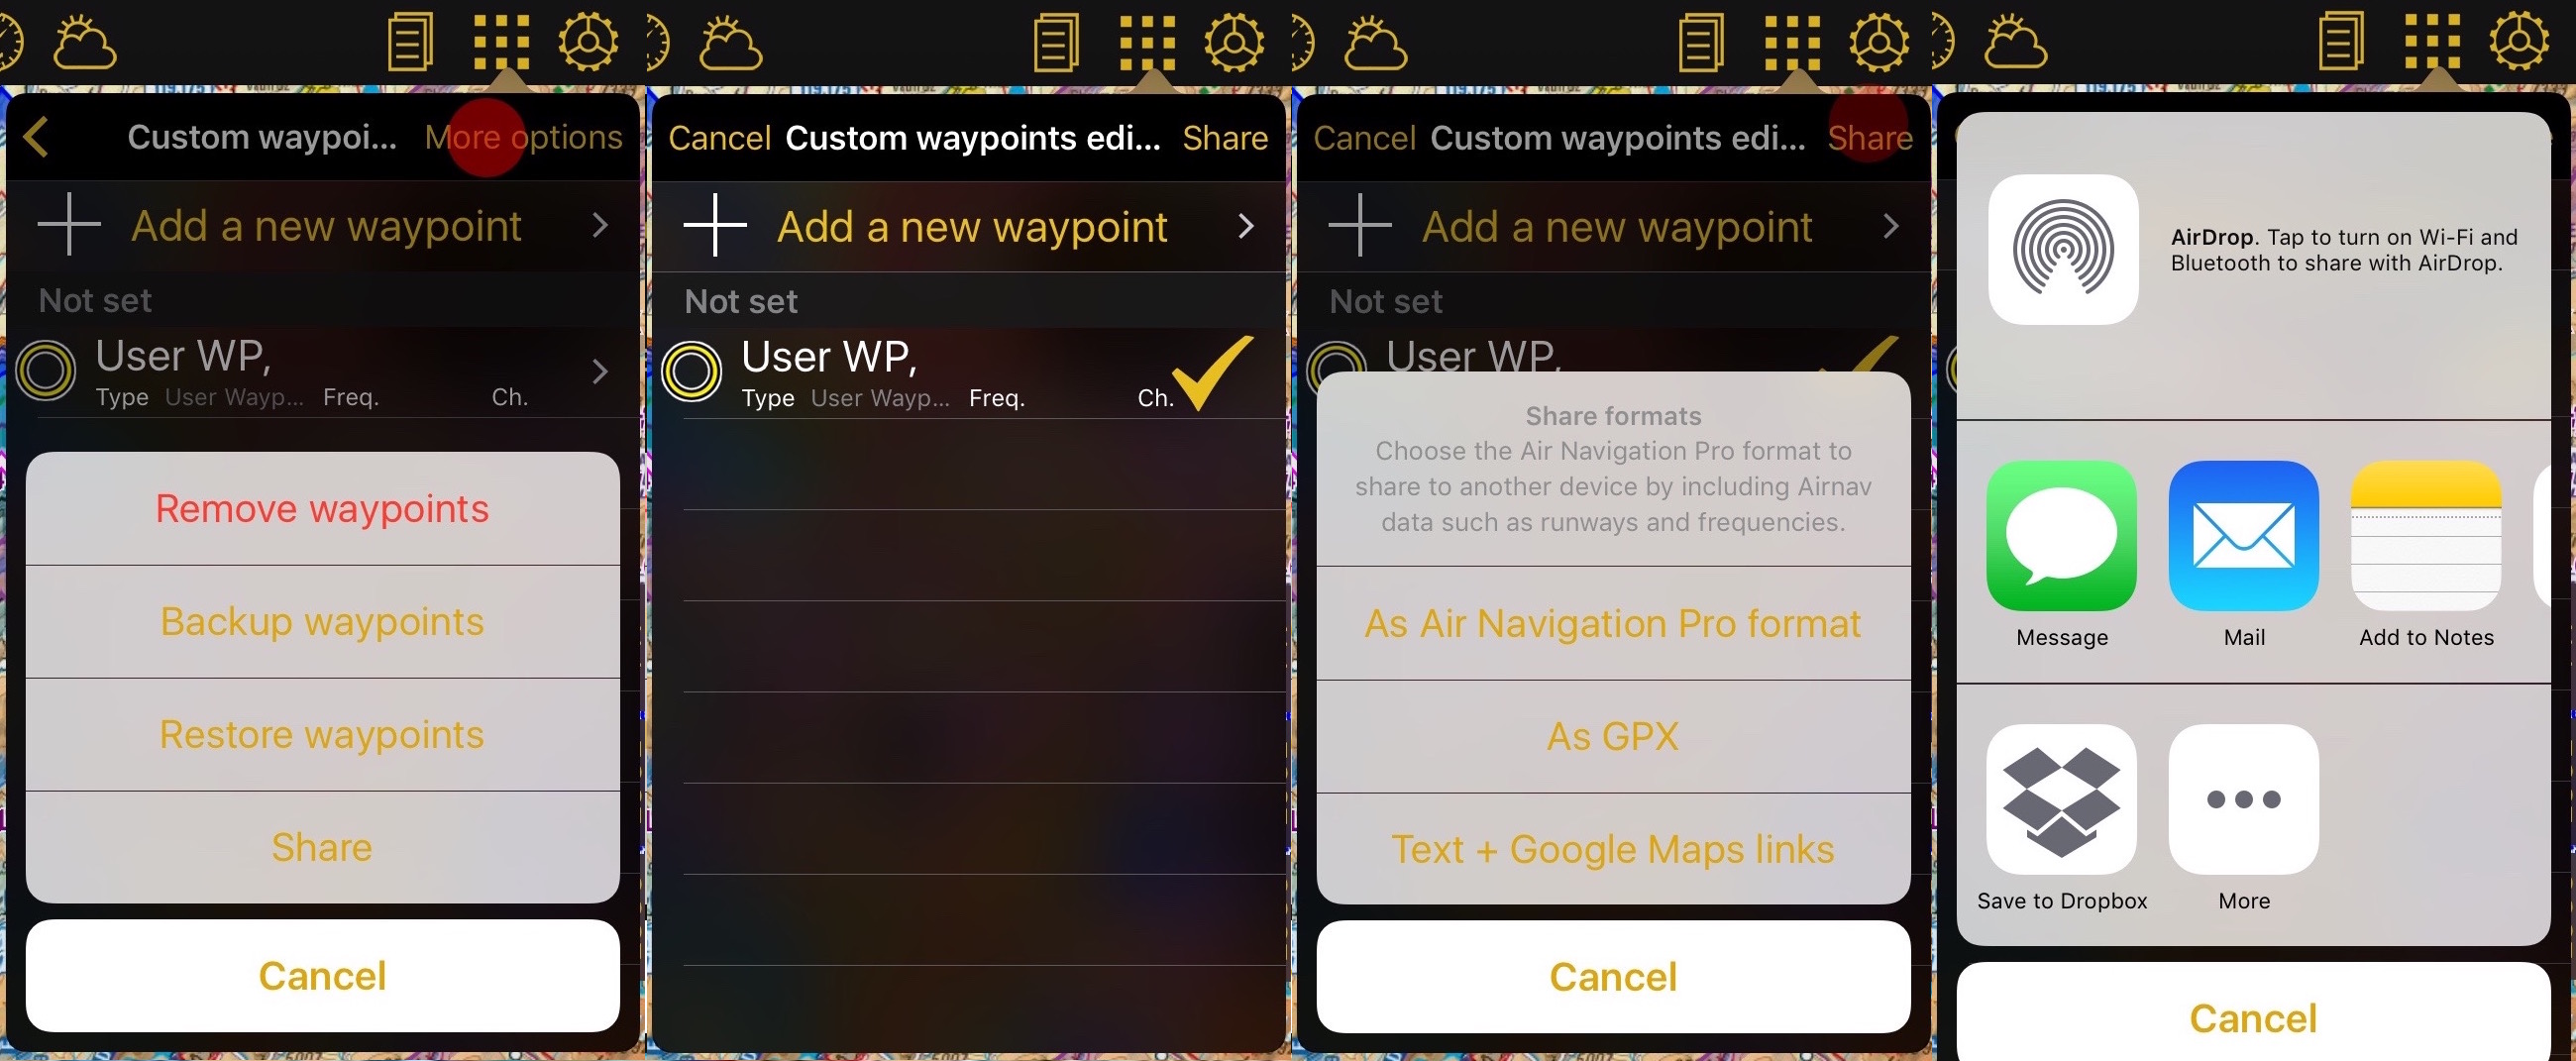
Easily share your waypoints with others using the "Share" function. Tap on "More Options" - "Share", choose the waypoint(s) you would like to share and tap on "Share".
You will be given the option to choose between different formats.
- Air Navigation Pro format: This format includes all the information related to the waypoint, like frequency and runways informations. Only compatible with Air Navigation Pro.
- GPX: compatible with third party softwares that supports this type of files.
- Text + Google Maps link
Once you select the waypoint you can choose how you would like to share it:
- AirDrop
- iOS Native apps like Message, Mail or Notes
- Third party apps like Dropbox.
Back to previous page.

